Showing posts with label Purse. Show all posts

Saturday, February 28, 2009

Circle Handle Mini Purse


One more different take on the mini purse. My sample is pretty plain - but could be dressed out really cutely! I can see this one done up in beach colors. It is VERY easy to assemble.

Scallop Edged Mini Purse

Perfect for party favors or just the right size to hold a gift card. I am having lots of fun creating different types of mini purses. I also think this would make a really cute small Easter purse. It is Baby Bug compatible!

I should mention that for this purse, you cut out two of the main purse pieces. Then glue the bottom flaps together. The side tabs will not meet, but will be glued to the purse strap.
Purses - Purse_5.cassell.cut

Tuesday, February 17, 2009

Mini Purse #2


Here's a mini purse that measures about 2 1/2 inches tall x 1 3/4 inches wide. Again, it can hold whatever you wish to fill it with. I'd love to see what others do with my files, so please, if you make any .... share, share, share pictures!

Mini Purse #1


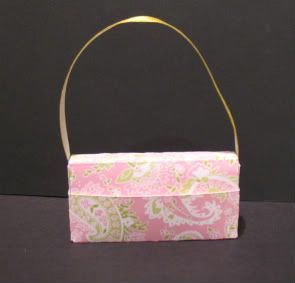
I just posted these to the Cricut Messageboard. Two new mini purses - to hold whatever goodies you wish. This one is about 3 1/2 inches tall and about 1 1/2 inches wide. I didn't embellish this one yet, but wanted to get a picture up. I also included a picture to help show where to score.
Sunday, February 15, 2009

And the 3 Nugget Purse...


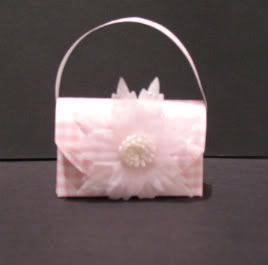
Here is the 3 nugget purse. This one, the top of the purse can actually tuck inside the box. (I couldn't wait to post - so I could eat the nuggets - LOL)
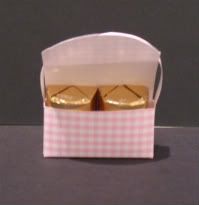
New Ways to Give Nuggets -


Yes, Nugget Purses...
There was a tutorial for making these over at Inspirational Techniques & Tutorials.blogspot.com. Of course they were made all by hand. Well, I just couldn't leave well enough alone, and created two cut files. One for a 2 nugget purse, and one for a 3 nugget purse. I think they are just darling!

This one is the 2 nugget purse. The closure on this one is a tiny velcro dot.
Nugget Boxes - My_2_nugget_purse.cassell.cut

Thursday, January 29, 2009

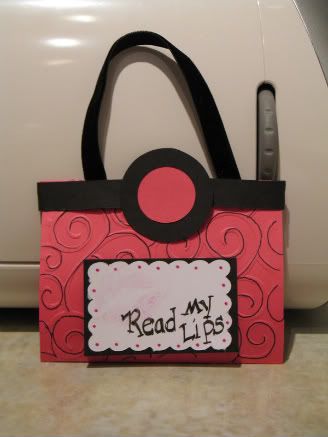
Lip Balm Bag


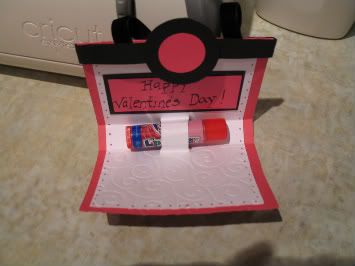
and then you open and viola...

This design is NOT mine and thus I CANNOT take credit for the creativity... but I did make it easier to make by creating a cut file. I think it is cute for chapstick, but I could also see those tiny tubes of perfume inserted through the slits too!
Here are some basic instructions for assembling:
After cutting out the pieces, score the outer layer on the long edge at 1/2" and 3 1/2" then flip card and score the opposite end at 3".
For the inner layer (the part for the chapstick) score at 2 3/4" from each of the sides.

Next fold down the 1/2" top, adhere your purse handles, then adhere the band over and around it. Use the circle layers to cover your seam. (Now the bottom half of the purse will tuck inside this).

Glue together your inner and outer layers BUT be careful NOT to glue the section that will hold the chapstick. Gently insert your chapstick as the paper slits will tear easily. These have to be snug enough to keep the lip balm from sliding out. Now you can embellish as you see fit. (Although you MUST apply lipstick and put the lips on yourselves! LOL)