Thursday, January 29, 2009

A Big Thank You!

I'd just like to say "Thanks" to everyone for their nice comments either here on my Blog or through the Cricut Messageboard. Your kind words mean a lot, and help to inspire creativity! So...
THANK YOU!

My "Son" o-gram!


This was pre-Cricut so I had to cut out the pregnant silhouette by hand...again I saw this layout in one of my many idea books and thought it was a cute way to scrap your ultrasound pictures. I think it's a perfect way to share baby's REAL first pictures.

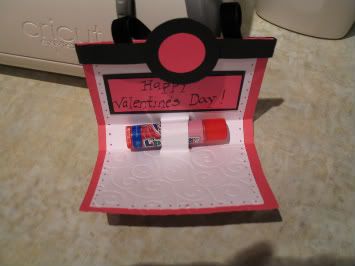
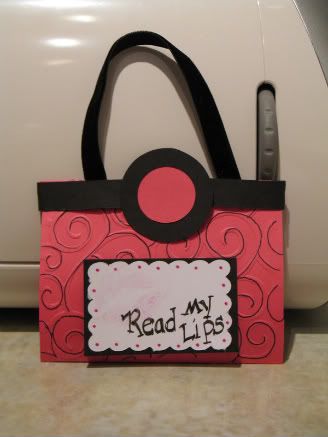
Lip Balm Bag


and then you open and viola...

This design is NOT mine and thus I CANNOT take credit for the creativity... but I did make it easier to make by creating a cut file. I think it is cute for chapstick, but I could also see those tiny tubes of perfume inserted through the slits too!
Here are some basic instructions for assembling:
After cutting out the pieces, score the outer layer on the long edge at 1/2" and 3 1/2" then flip card and score the opposite end at 3".
For the inner layer (the part for the chapstick) score at 2 3/4" from each of the sides.

Next fold down the 1/2" top, adhere your purse handles, then adhere the band over and around it. Use the circle layers to cover your seam. (Now the bottom half of the purse will tuck inside this).

Glue together your inner and outer layers BUT be careful NOT to glue the section that will hold the chapstick. Gently insert your chapstick as the paper slits will tear easily. These have to be snug enough to keep the lip balm from sliding out. Now you can embellish as you see fit. (Although you MUST apply lipstick and put the lips on yourselves! LOL)

Wednesday, January 28, 2009

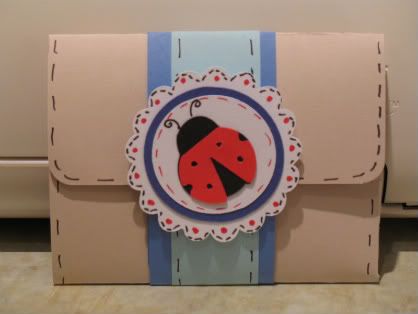
Let Me Bug You About My.....


This is my take on the photo wallets that I've seen bouncing around on the Cricut Messageboard and also at SplitCoastStampers. My wallet file was designed as one solid piece, so unfortunately it won't be Baby Bug compatible. ( - I do believe Capadia made one for Baby Buggers - )
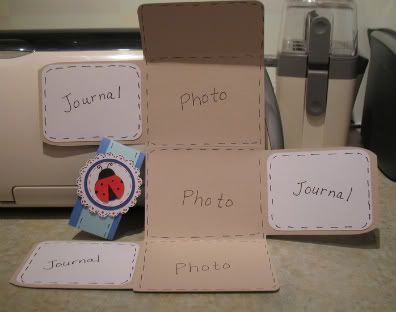
I've included pages for the layers for the journaling and/or photo mats. This one was designed using the George cartridge, but could easily be converted for Plantin Schoolbook.
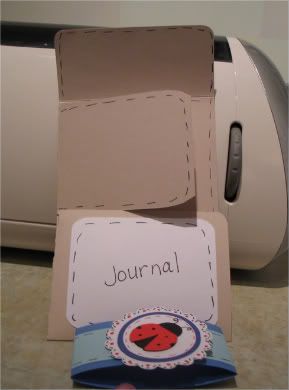
Here it is partially opened...

and here it is fully opened...


Photo - My Photo Wallet.cut

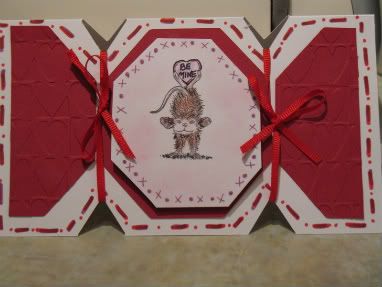
A Candy Shaped Card


~ Here is one of my favorite shaped cards that can be used for any occasion. I call this "My Candy Shaped Card". I first used this design at Christmas with stamped images of snowmen in the center. (of course I didn't take pictures of those - LOL). I can see this card decorated in SO many different ways - really dressed up or really simple - This is just a quick one I made for Valentine's Day ~

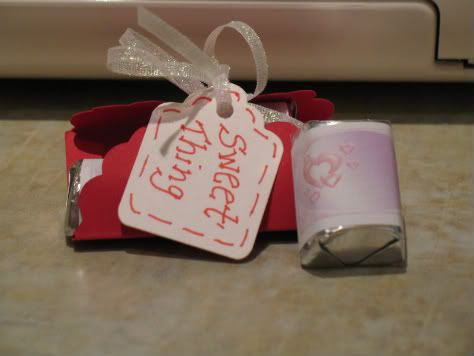
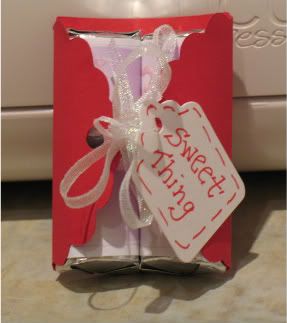
Candy Wrapper


I was surfing my favorite blogs and came across this cute little candy cover. I thought, now this would be a really easy .cut file to make, so I set out to design one. I used the 12 x 6 mat so that it would be Baby Bug compatible. The first page of the file is the wrapper itself. The next two pages are added edge designs which you can use if you wish. If you choose to use these added designs, do not remove your wrapper from the mat before you make these cuts.
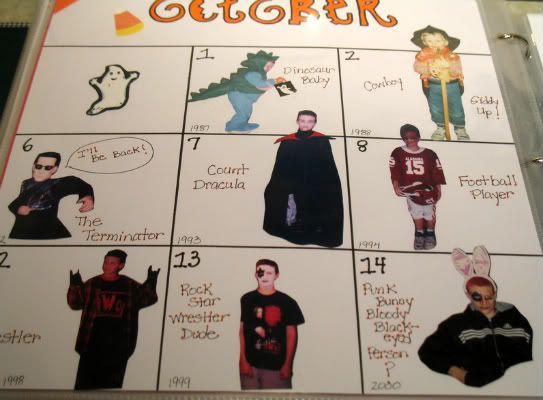
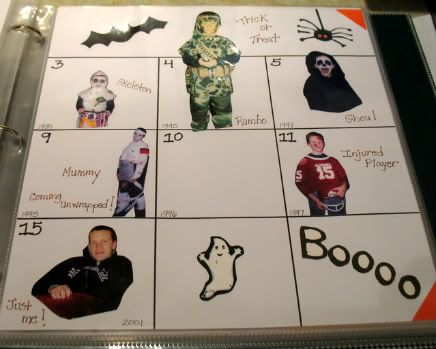
Halloween Calendar


This is a cute layout that I found in one of my old scrapbooking books. I thought it would work great for a Halloween layout. I made it look like a calendar page, and for each day of the week is a picture of my son at Halloween when he was that age.

For instance on October 1 - he was one yr. old, Oct. 2 - he was two years old, etc.

I've used this same layout for Christmas photos of my kids opening their presents. Cute idea I think.